Controls / PRACTICAL GUIDE
A useful control layout keeps common actions within comfortable reach. Here is a practical way to audit a two-thumb HUD before adding more fingers.
Map the movements you actually make
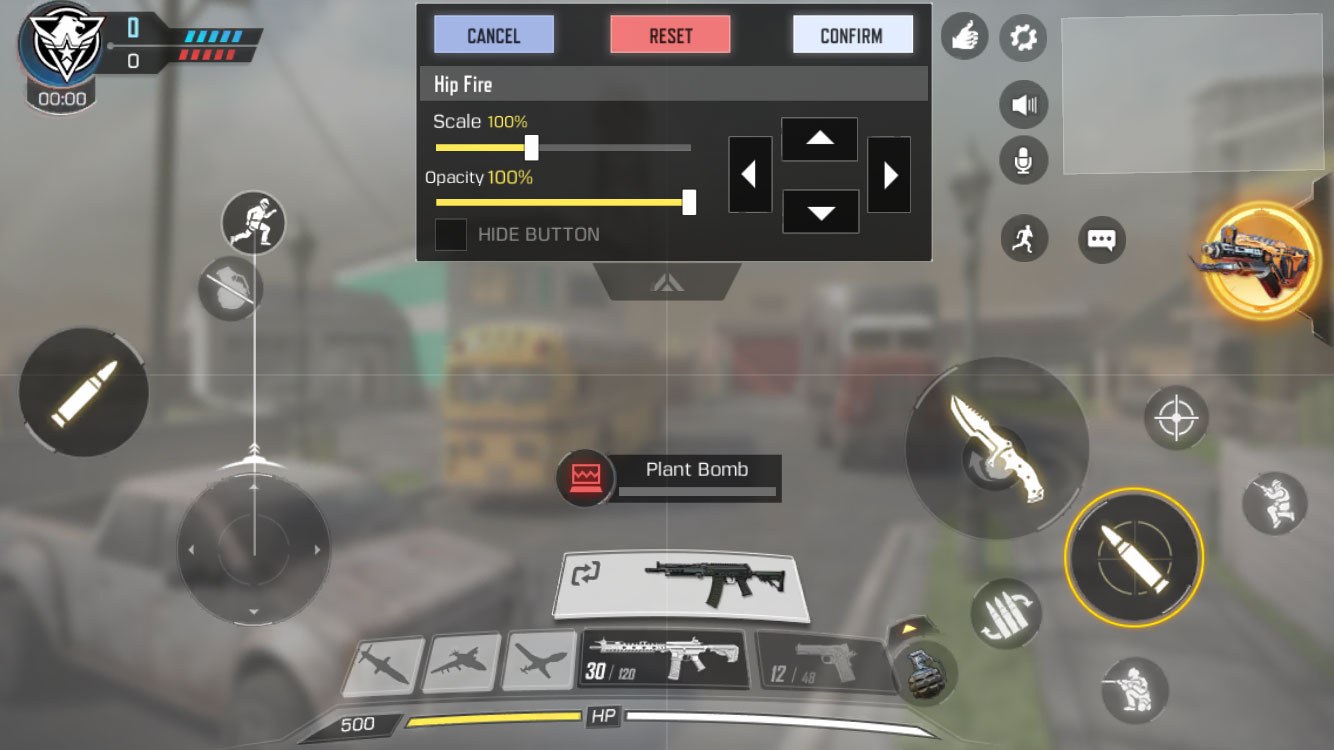
Hold the phone in your normal playing position before opening the layout editor. Notice the relaxed resting point of each thumb and the arc it can reach without changing your grip. Put frequent actions inside those arcs. The official control guide documents customisation, but its screenshots are historical examples; use the controls available in your current build. A button that looks tidy in a screenshot may be uncomfortable on a narrower device.
Test combinations rather than isolated buttons
Walking to a marker and tapping reload is easy. Walking, turning and reaching another action exposes the real constraint. In a low-pressure practice setting, check movement plus aiming, aiming plus firing, and movement plus stance changes. If your aiming thumb must repeatedly leave the aiming area, decide whether the action can move or whether a different grip is genuinely comfortable. Do not add a third finger simply because another player uses one.
Change spacing before increasing speed
Mis-taps can come from neighbouring buttons, not slow reactions. Give an important control enough separation that the thumb lands on it reliably. Then check that it does not obscure a doorway or the centre of the view. Make one adjustment and repeat the same sequence. Changing size, opacity and position together makes it harder to identify the cause of an improvement.
Keep a recoverable baseline
Save a private screenshot of the working layout and note the device orientation and grip. After a few ordinary matches, record which action still requires a grip shift. Judge the layout by comfort and reliable inputs rather than a single match result. If discomfort appears, stop and simplify. This exercise is an editorial practice method, not a tested promise of a higher rank.